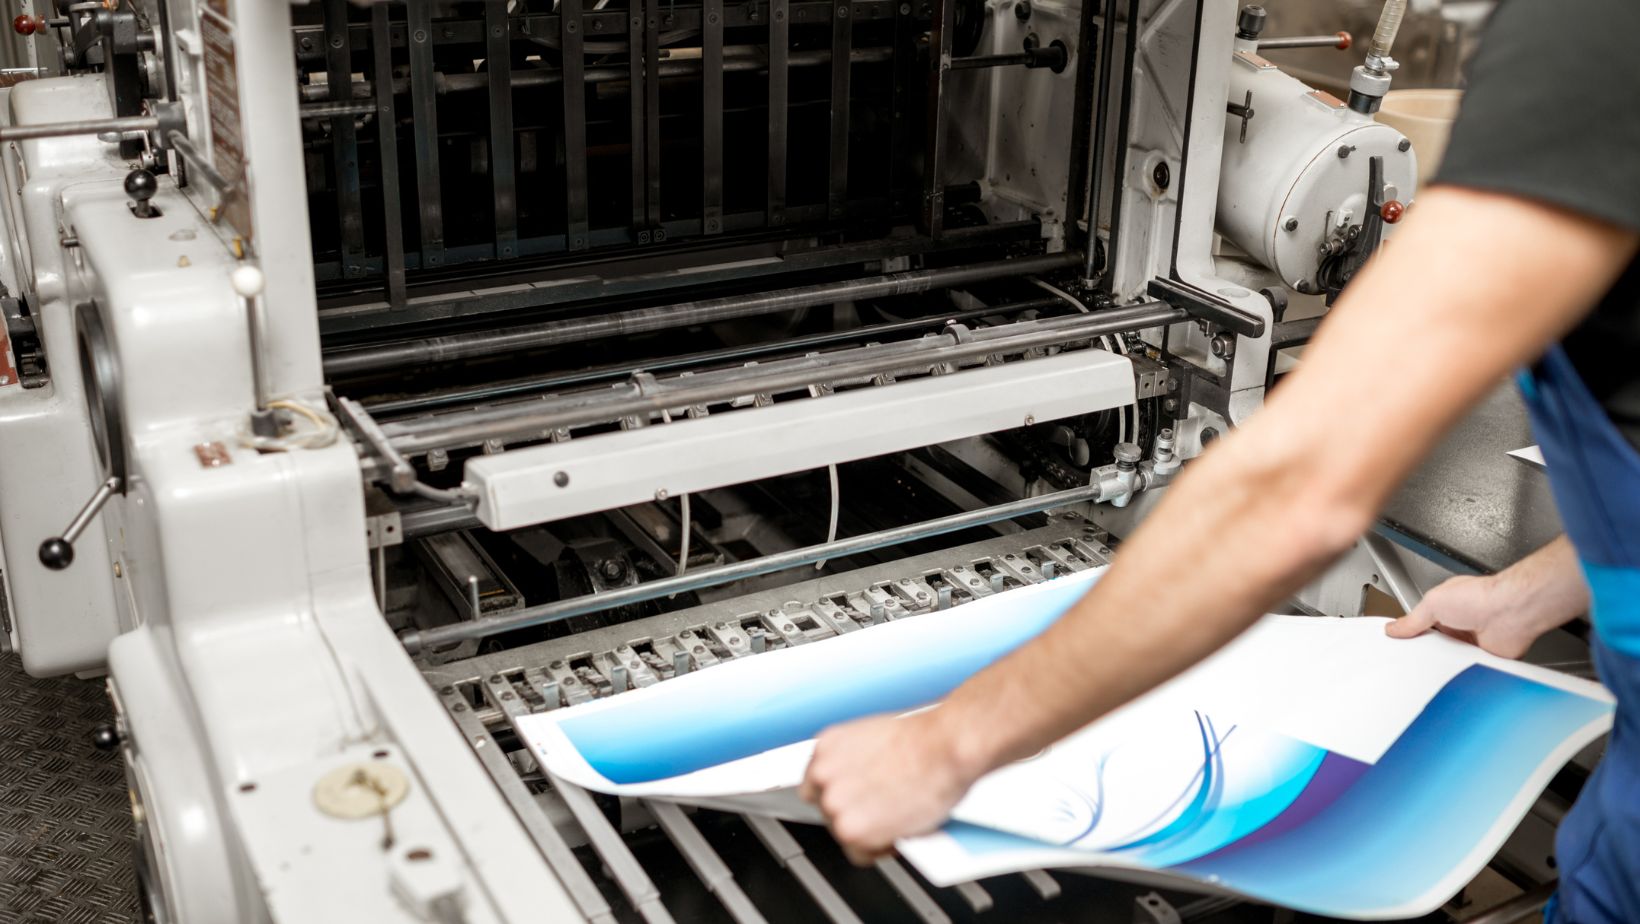
The correct preparation of files before sending them to commercial printers constitutes a fundamental requirement that leads to successful printed output. The root causes of printing problems stem mainly from problems found in the file preparation stage. Your printer will deliver a higher-quality and error-free professional output when you submit properly formatted and optimized files for brochures, catalogs and booklets printing. Knowledge of correct print-ready file preparation standards will lead to improved results in your business printing ventures.
Your file organization that follows commercial printing requirements enables better integration between design work and manufacturing processes. The preparation process requires more than just saving your design to PDF format. Each piece of a PDF file structure including resolution quality and color format together with bleed area dimensions determines how your printed output will match its digital design. A properly prepared file enables smoother workflow for both design and print operations thus reducing both the time needed for production and the associated costs.
Select The Correct File Format Together With Resolution
When preparing for commercial printing you must first choose the right file format as your initial step. The PDF format remains the preferred choice for printers since it retains all design elements along with their exact appearance. A PDF creation requires embedded fonts and prevents image compression that harms their quality. High-resolution images are also critical. Commercial print jobs require files with 300 DPI resolution as the standard measurement. Lower resolution than 300 DPI leads to images appearing blurry or pixelated regardless of their appearance on the screen.
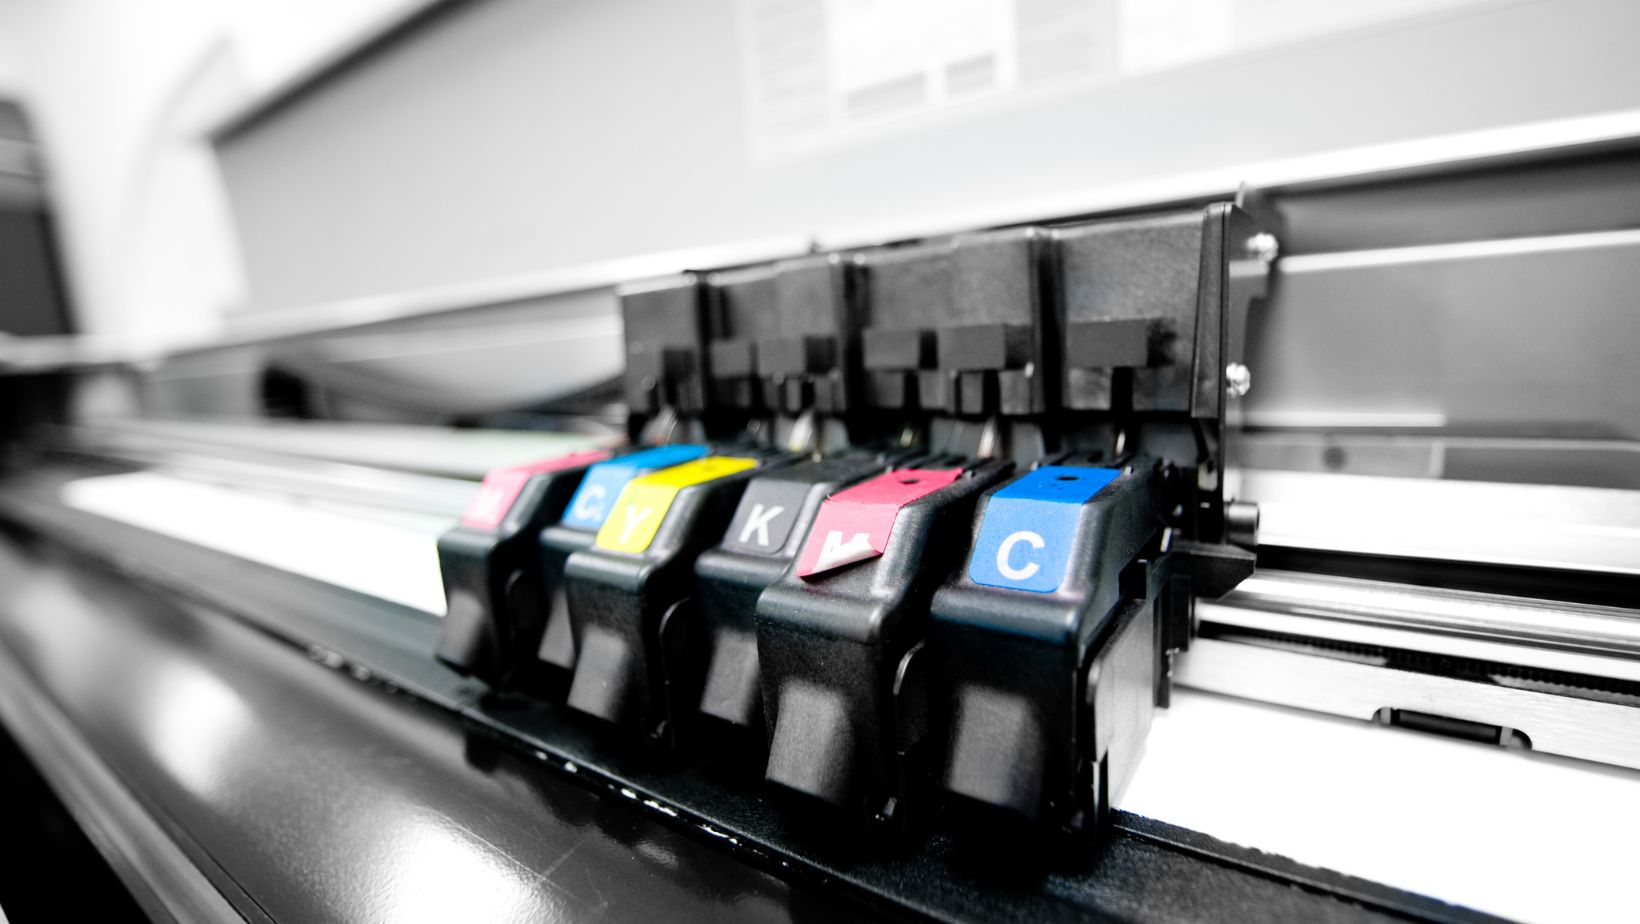
CMYK color mode should be selected for every image and graphic element during file saving instead of the RGB color mode. RGB functions as a screen display standard yet CMYK serves as the printing color model. RGB files sent to your printer will show different color output than what appears on your computer monitor. You must convert files to CMYK format before sending them to check color variations that will occur during production. Suppliers need special attention to materials that contain logos or brand colors since precise accuracy plays an essential role.
Include Bleed And Safe Margins
The bleed area extends from the document edges to provide tolerance for small variations during the trimming process. Every document needs a bleed of 0.125 inches which should extend across all four document sides. Printed materials can develop white borders when paper cuts are slightly off because they lack bleed. Verify your document setup includes background colors or images that reach into the bleed area beyond the trim line in order to prevent this problem.
Your document should include safe spaces within the trim line area. Safe margins around the document provide protection against vital text and design elements being removed during printing. The critical content elements need to stay minimum 0.25 inches beyond the edge of the page. The maintenance of readability through space between text and the margin together with professional appearance becomes possible. Correct management of both bleed and margins helps to ensure high precision and quality outcomes in the final product.
Use Proper File Naming And Organize Assets
The use of clear filenames for print projects is frequently neglected yet proves useful for sending various print components and their versions. The combination of project name, version number along with date as file labels ensures both printers and their clients can maintain correct document version tracking. The inclusion of cover sheets with instructions becomes useful for complex jobs when you need to specify layout notes or particular requests.
Including all supplementary assets like images and logos together in one folder with your main file remains a professional practice. Separate asset provision for flattened PDFs is beneficial since it offers flexibility in case any modifications become necessary to embedded elements. Page order specifications and blank page placement instructions should be added to your documents when using a coil binding machine for items.
Check Proofs And Request A Sample Print
A digital proof should be examined before print approval but a physical sample review is the most effective method. A proof enables you to detect layout, alignment and color issues before beginning full production. The final product readability and usability of coil-bound materials become compromised when the materials experience misalignment in large volume orders that go through a coil binding machine. You can verify that the material meets your expectations by examining a physical sample which allows you to experience material quality and finish.
Through proofing you gain the opportunity to check how your digital design elements transform when printed onto paper. The printout shows color variations when compared to the digital version and small text elements become less easy to read. You can detect problems during this stage so you can update your file before resubmitting to prevent additional printing expenses and save time. The successful execution of your original vision depends on clear communication at this stage with your printer.
Conclusion
Commercial printing file preparation demands high levels of precision and complete knowledge of technological requirements. Each step in the correct resolution and color mode selection as well as bleed and margin definition leads to successful printed materials. When files remain organized and proof reviews are conducted carefully it becomes possible to prevent unexpected printing errors and time delays. The combination of proper file preparation for flat prints and coil-bound documents using a coil binding machine produces superior outcomes and effortless print experiences.